This article is a guidance of the installation of LED BDM Frame and BDM Frame for Ktag Kess.
Why we need BDM Frame?
In some cases we have very small space for soldering, so the frame allows us to avoid soldering in most BCM modules.
How to install BDM Frame for Ktag Kess?
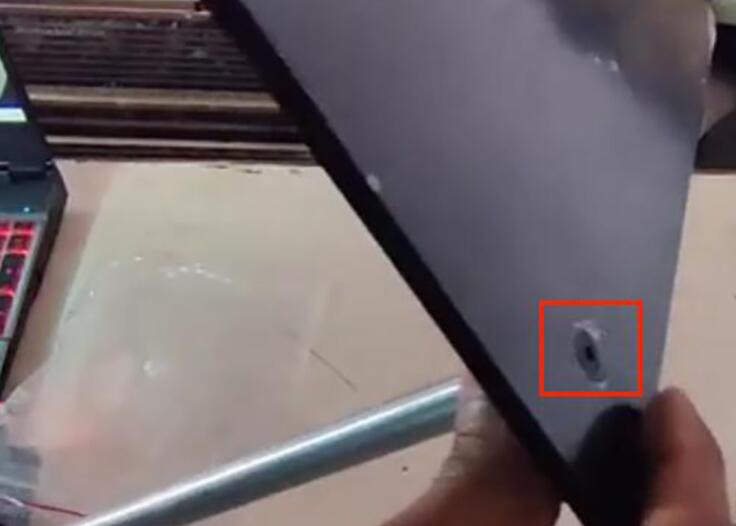
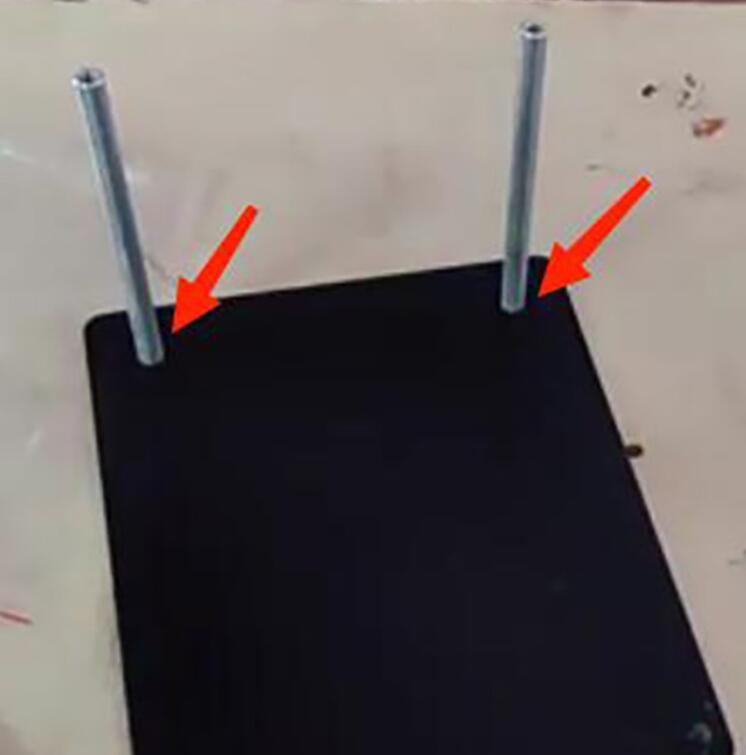
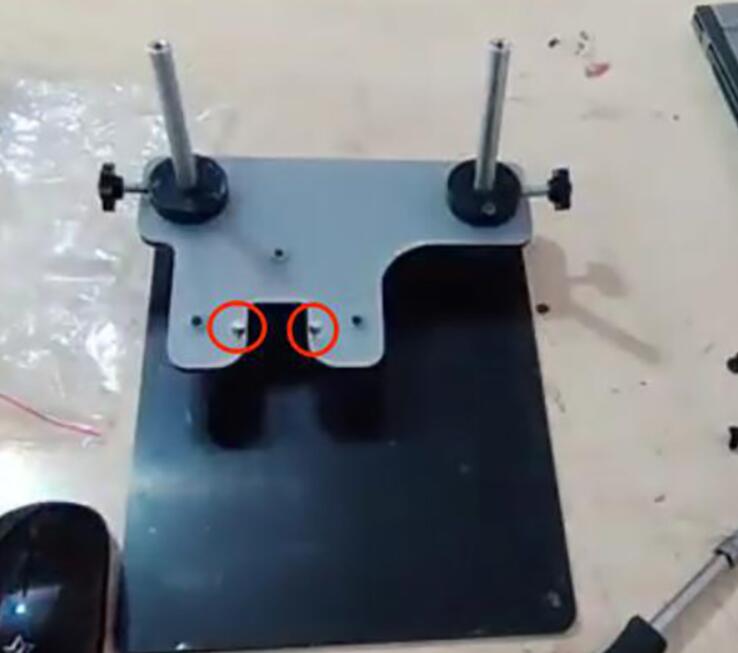
There are 4 hole on the base, so first put 2 flat screws on 2 holes on the same side and tighten them by 2 bars.
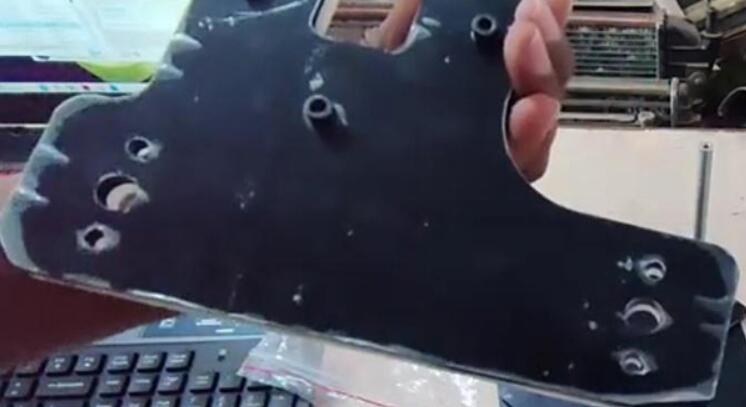
Put the black plate and the white plate together, and tighten them by screws.
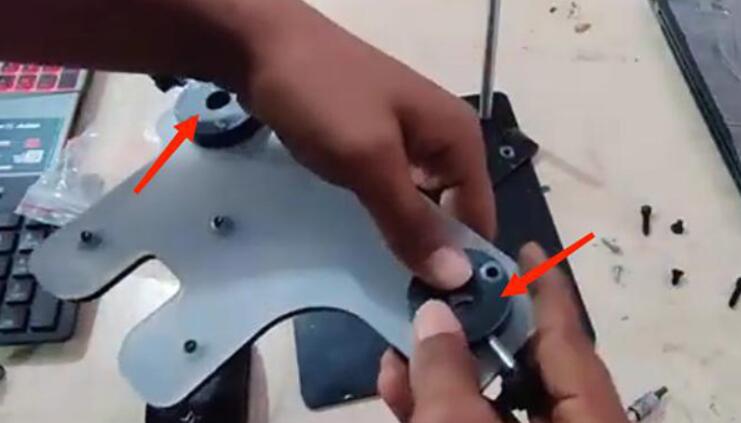
Put a black ring on the side of the white plate and tighten it by 2 screws, so does another one.
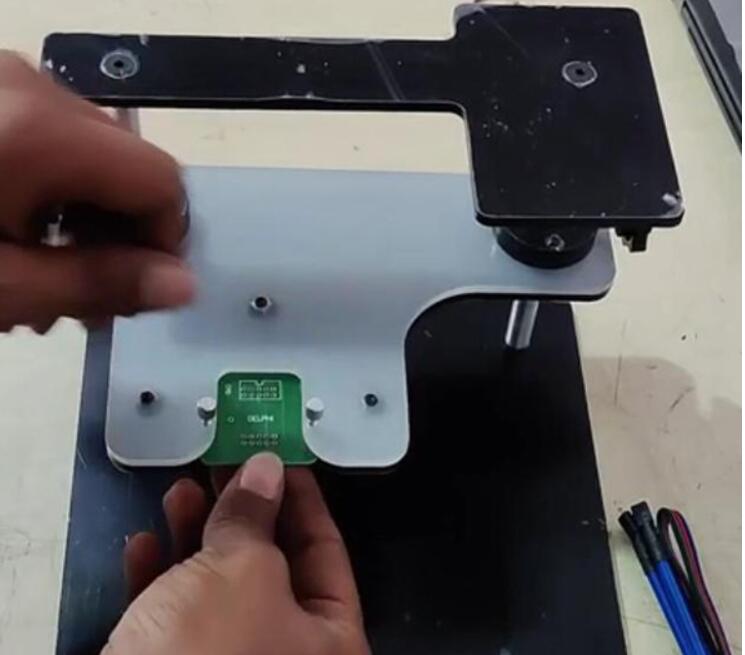
Insert the white plate into the 2 bars, and then install 2 screws in the white plate for fixing ECU adapters
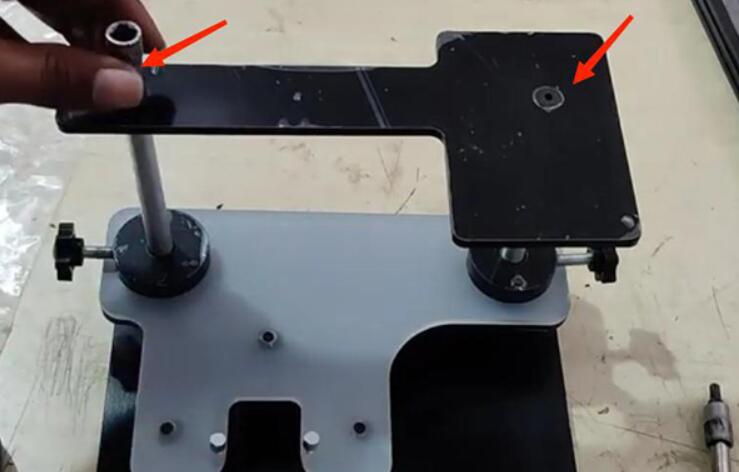
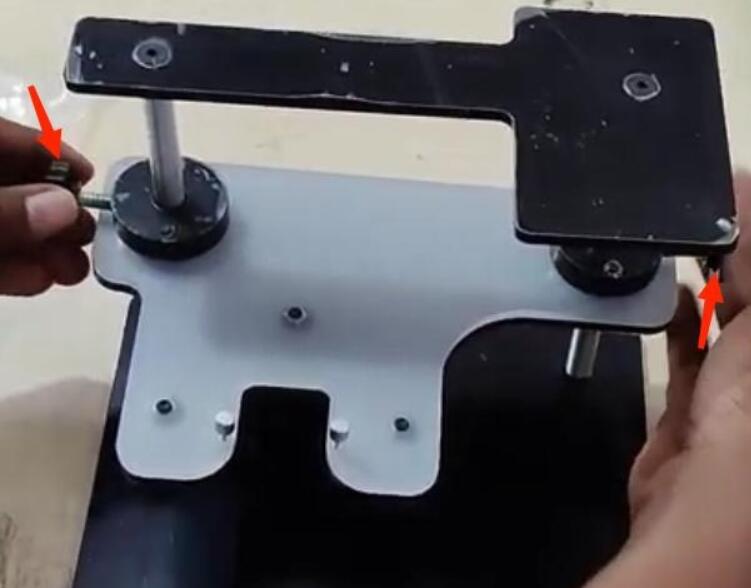
Insert the black plate into the 2 bars and tighten it by 2 screws.
Finally you can put the white plate up and down and tighten it by the screws beside.
How to install LED BDM Frame for Ktag Kess?
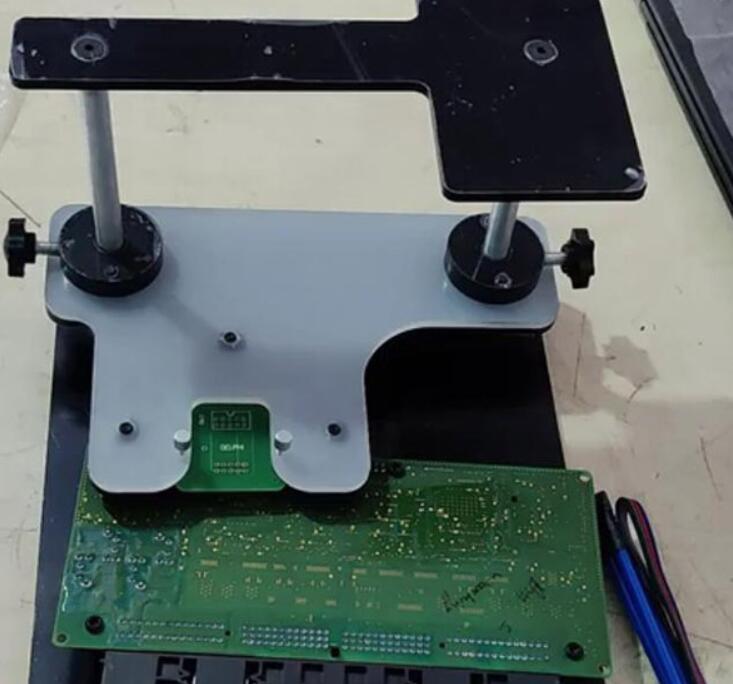
After soldering pins on an ECU adapter, place it in the white plate and fix it.
Put your circuit board on the low base and lower the white plate to soldering point position.
Then you can put your Ktag or Kess on the high black plate and start ECU programming.
When you finish your work, remove the circuit board and ECU adapters and lift the white plate back.
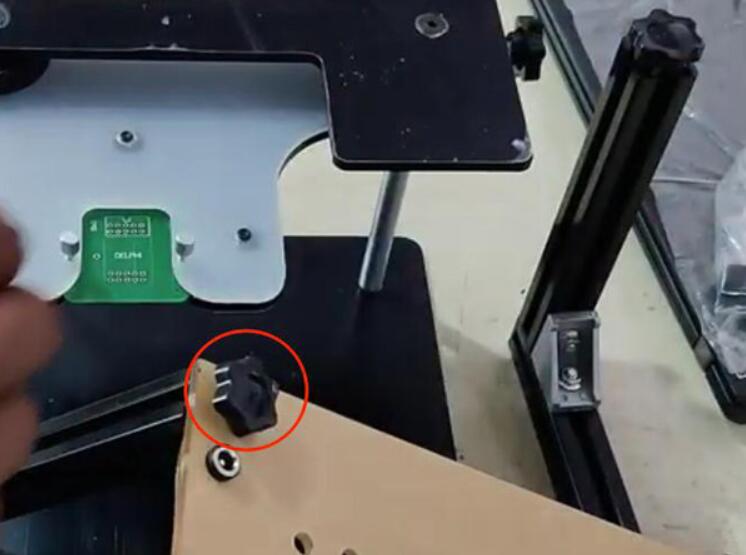
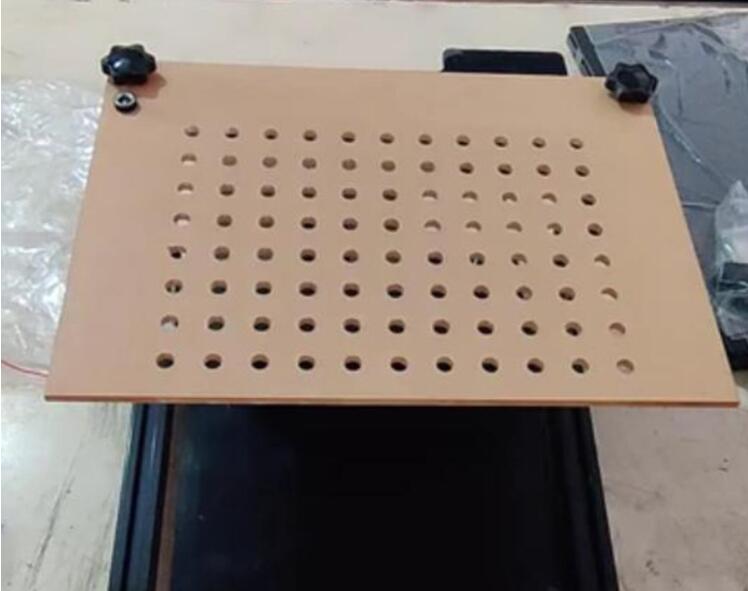
If you need any lights, remove 2 screws on 2 stands, combine the LED board to 2 stands and fix them by 2 screws.
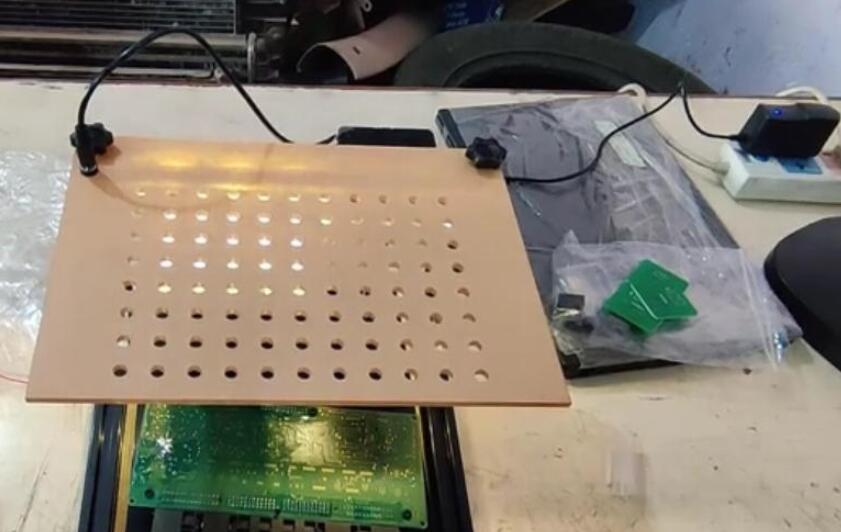
Put the LED board together with the frame.
Now you can supply power to the LED board to get lights.
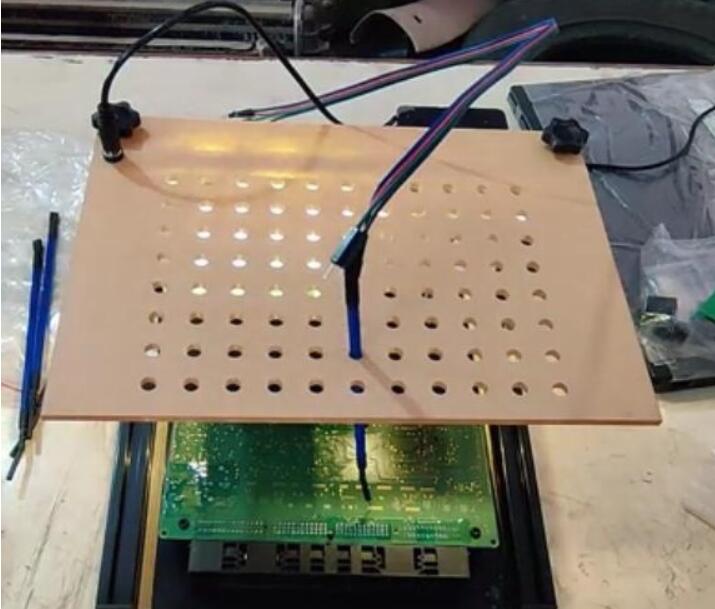
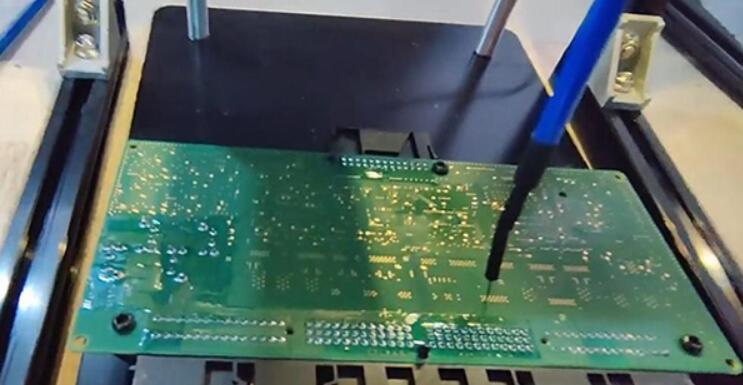
You can put the probe in any pins without soldering like this.
Knowledge from Mr.AllNew.
Alright, after the installation, your ECU programming using Ktag+Kess will be more easily.

Leave a Reply